
I have tried something different this time. I have uploaded a series of videos Phil and I took as I inspected and cleaned my dead honey bee colony/hive. These videos have spent a fair bit of time buffering when I have tried to watch them back. Let me know how you get on. But before we get to the videos:
THE HOLDING
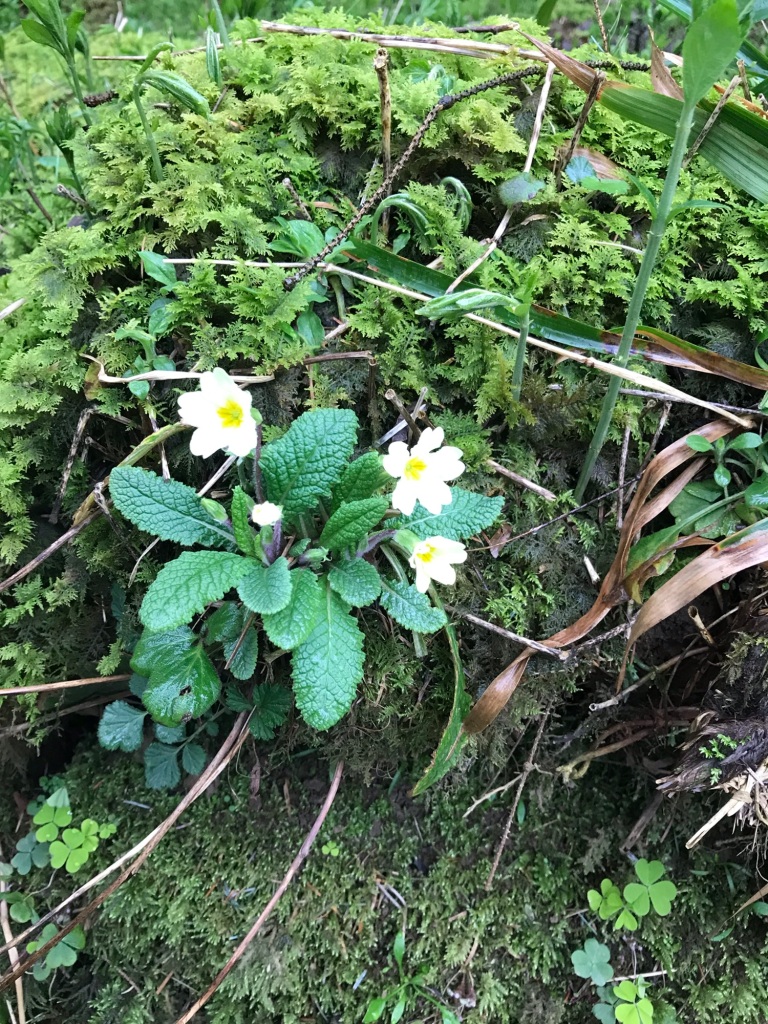
Spring has sprung here despite the weather. Latest international statistics say the past 8 months have been the warmest ever recorded. We had very little freezing over winter and alot of rain. The ground is diabolically wet and boggy.
If I hadn’t moved the cows in the autumn I would be frantically trying to move them now. The end of March is the normal time for them to come out of the barn, but I cannot navigate the pastures without getting stuck; there is no way they would have been able to.
Once it dries a bit there will be remedial work to do: dig some drains, reseed, and roll everything flat, all in an attempt to get pastures that are covered in meadow grasses and wildflowers that will develop root structures that hold things together.
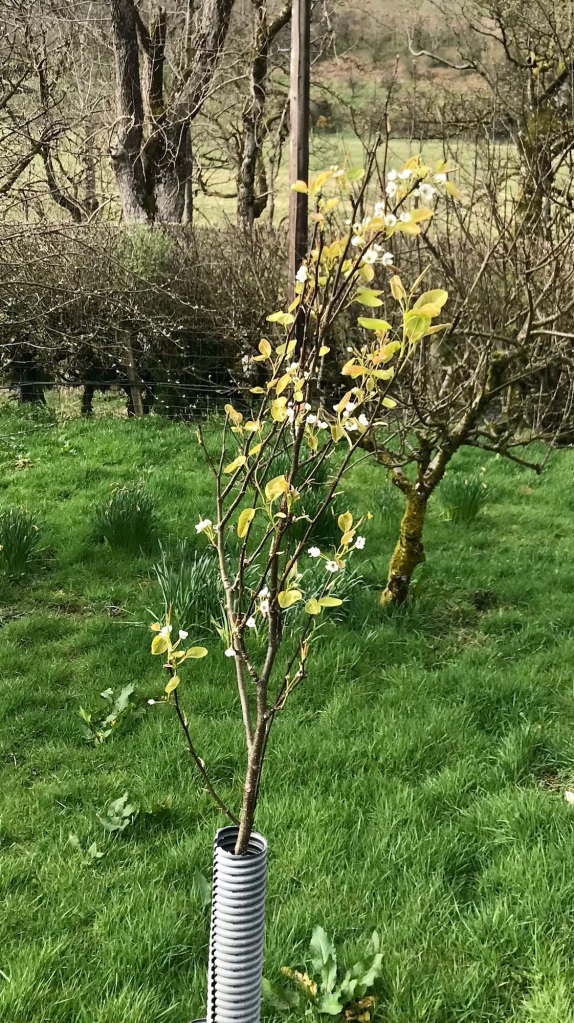
The apple trees are about to flower and fruit the bushes are leafing out; the willow trees have already flowered and have been attracting the bees. Our Damson is in flower, but not the cherry. I think it will be next. I am very pleased with the number of flowers on the apple-pear we planted two years ago. Last year it produced about five flowers and one tiny fruit that withered and died; maybe we will get a bigger one this year.
We’ve been selective in planting out new things because of the wet. Phil planted out a bed of heathers; we have a buddleia that needs to go into the ground – but where? Phil’s got some clematis vines he wants to put in a planter to grow up the front of the house, and we’ve got a new lavender that’s going to stay in a pot.
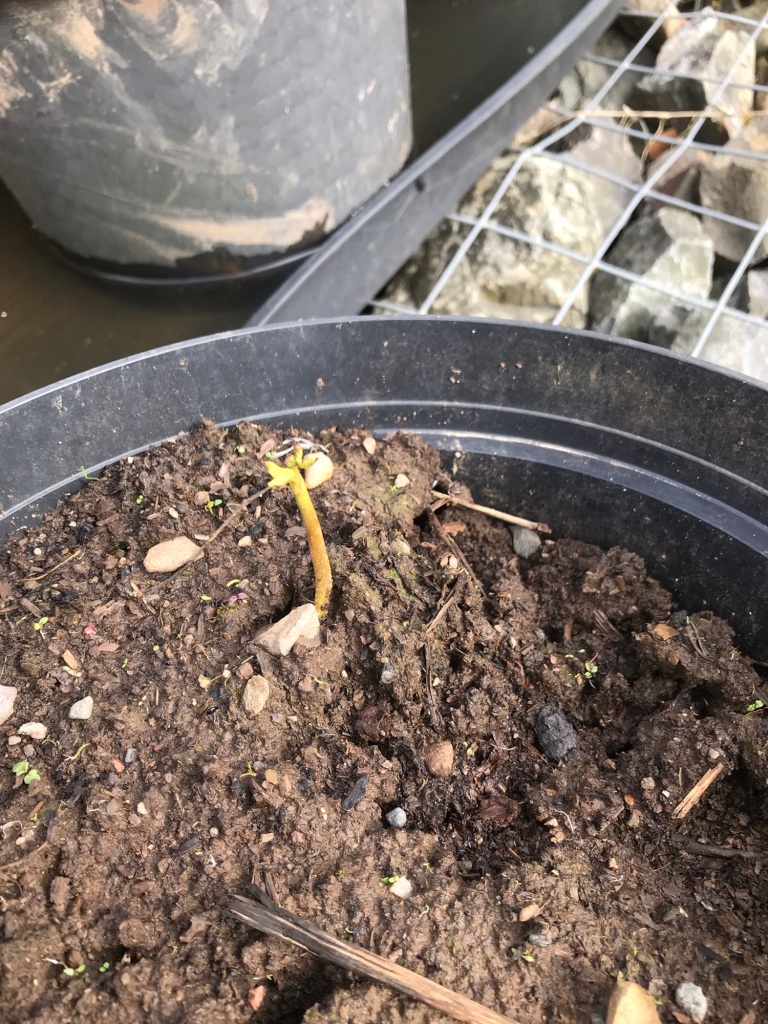
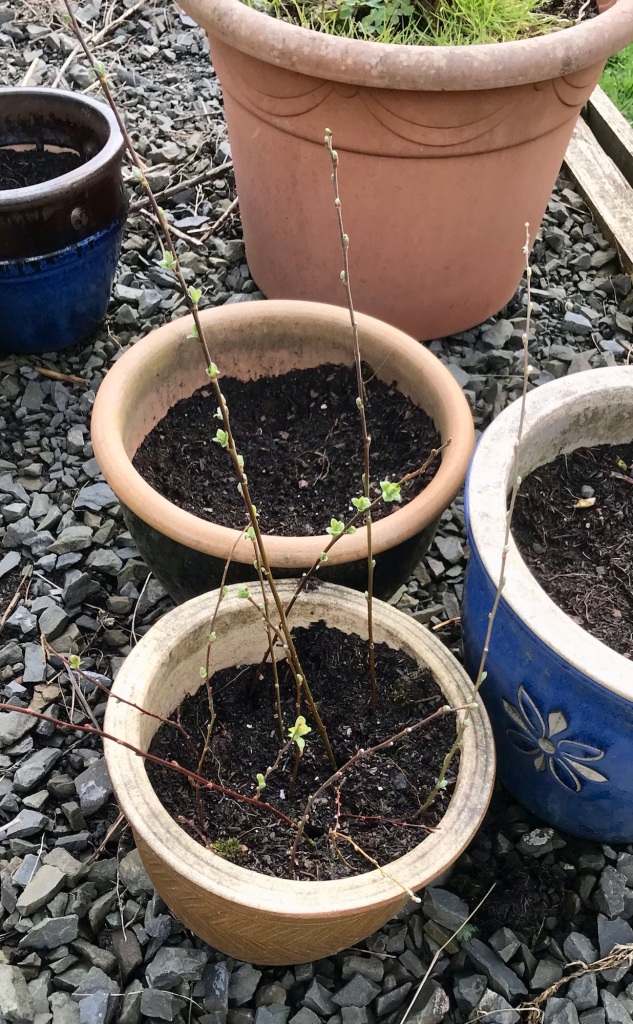
I have shoved a bunch of willow whips in the ground around our iris patch. It is very wet there and that water runs across the path that links the two paddocks (hence the boardwalk Phil built there). I did this last year – 24 whis I stuck in. Three of them have leaves this year. Yay! My hope is that the willows will eventually suck up lots of the water so that the ground drys out. If this works, we will need to move the irises. As the are poisonous to livestock we have already fenced them off from the animals, but we might want to get rid of them altogether. Anybody want some iris? Yellow and purple ones.
Phil has plans to hire a mini-digger in order to make some changes to our veggie patch. He will level the current slope and create terraces. We will then move the polytunnel to the lowest terrace – hopefully this will be its permanent home – and set up raised veggie beds on the higher one(s). While we’ve got the mini-digger we (he) hopes do a bit more resculpturing around the beehive and up to the summerhouse make some proper paths. Because of the slopes, we currently walk uphill on a tilt. It would be nice to have a level, albeit upward-slanting, path to get to the highest points of our property. Less worry about twisting an ankle.
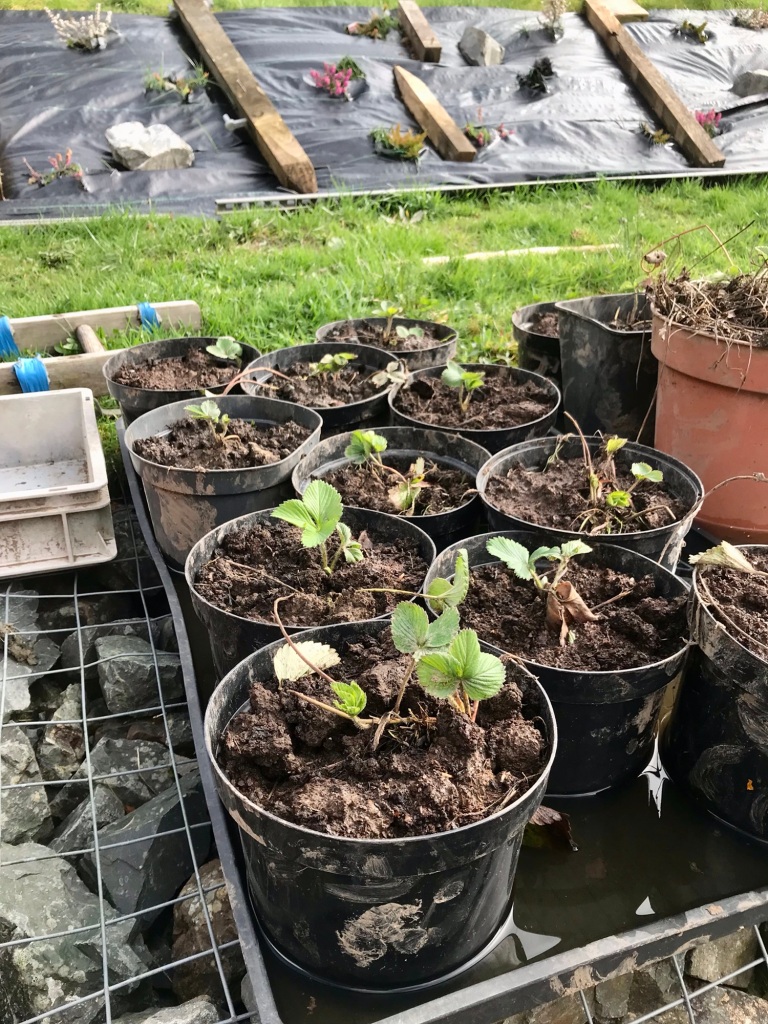
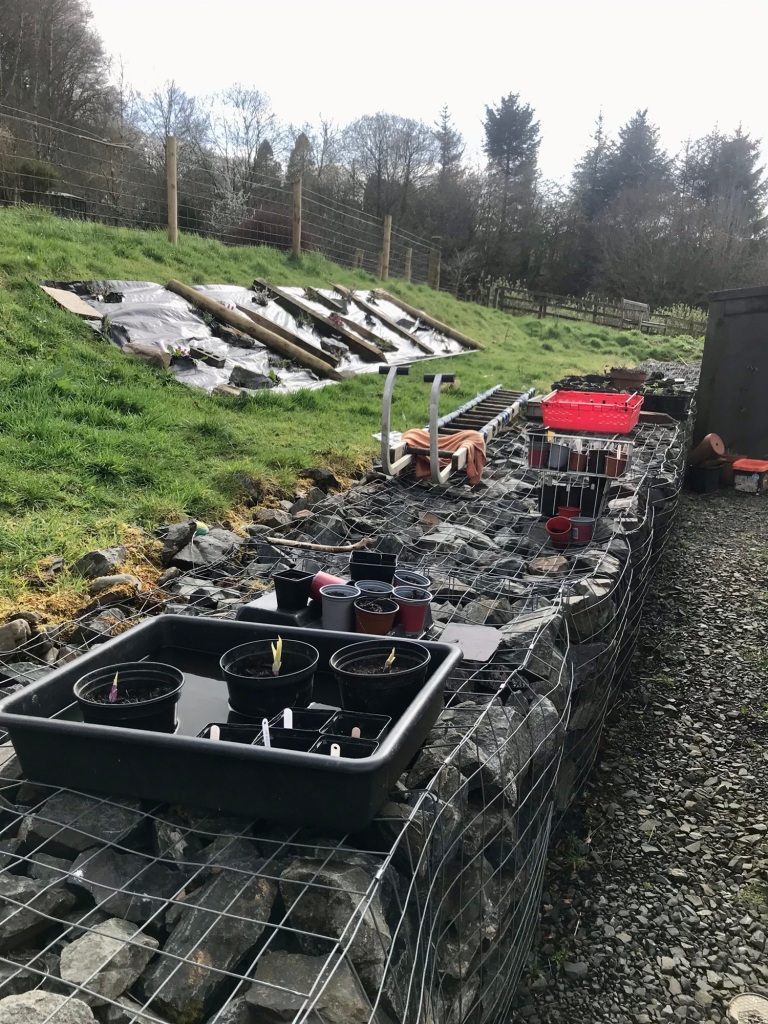
Phil has dug up all of the strawberries and put them in pots. He thinks lifting them out of the wet soil may improve their overall well-being. He has placed these pots on our stone gabions – great drainage there – near the old kennels. The kennels are clothed in roofing felt so they make for a lovely warm spot. The strawberries and some of the tomatoes will live here this year and we will see how it goes.
Phil is still trying to figure the best way to plant the potatoes. We used old tires last year with some success, but the tires are going to be repurposed for the goats’ ‘playground.’ Maybe there will be some nice piles of soil as a byproduct of the digger activity that we can use for potatoes.
I stuck a few garlic cloves in a pot last year. They have greened up nicely. I understand that they are not ready for harvest until the leaves wither, so we will be waiting. In the meantime, the woods are FULL of wild garlic. We should try some of that.
THE CHICKENS
The chickens are fine. The cockerels are keeping a good distance from each other and peace reigns amongst them. Hallelujah!
everal hens are broody but we are getting six or seven eggs most days. A correction from my last post: we have 16 chickens, not 18: 3 cockerels (ages 5, 4, and 1 year) and 13 hens (the 6 oldest are 3 years old, then 2 are 2 years, and 4 are 1 year old). We should have plenty of eggs for years to come.
Prince is such a large beautiful cockerel that I’ve had an idea: maybe we can get some standard sized chickens from him and our biggest hens? This would increase the number of large eggs we have to sell and eat.
Right now we have 5 proper standard-sized hens; the rest are a mix of bantam and ‘game’ – smaller still. Last year’s hatch are more like mini-hens and the eggs they lay are very small, indeed. One customer says the small eggs are the perfect size for poached eggs on toast, but I am sure the small eggs are harder for people to bake with. The ratio of yolk to white is different and that must impact the texture of just about anything baked.
I haven’t seen either George or Tweet mate with Big Red, Bluebell, or Kelly – the biggest hens; only Prince seems to have this pleasure. So, if I were to let one of our broody hens incubate their eggs, I think we’d have a good chance of getting birds that are standard size. I will continue thinking about this.
BEES
As my two hives sit under a single, shared, roof I have been waiting for a spell of warm weather to inspect and clear out my dead colony of bees. I knew the healthy hive would lose heat with the roof lifted and I didn’t want them to get chilled. We finally had a couple of warm and sunny days, so with Phil’s help to hold the phone (for videos), we opened the hive and inspected it, then cleaned it out ready for new residents. The following videos record that process. I hope they are useful. Please let me know what you think about them. (NOTE: there was no need for me to put on a bee-suit. The neighbouring hive was not very active at all and there weren’t any that were going to bothered in the hive I was working with, so no bee suit).
The first video shows a few things. Watching it back I realise I have been rubbish at spacing frames!
The wooden frames are designed to be tucked up next to each other, leaving only one bee-body’s worth of space between two frames. This is called ‘bee space’ and it equals the amount of space needed for one bee to move about in (and is measured from their feet to their back, not head to tail) between two combs. Vertically speaking, you can fit hundreds of bees between two combs, but they should only be able to form a layer that is one bee thick.
If you leave too much space between frames, the bees will fill it in with comb to create gaps that are the proper size. That is exactly what they have done on the inner front wall of this hive. Two years ago I set the first frame too far back from the entrance and they began filling that space with ‘brace comb’. Last year all of that comb was full of honey that I could not harvest without making a huge mess. My only option would be scraping or breaking it off that wall. That would’ve angered the bees and left honey dripping all down the wall and through the mesh floor onto the ground. That would’ve attracted wasps. It was better to leave it for them.
Over winter they ate all of that honey – which is why the comb is empty now. Now is a good time to remove that brace comb and put my first frame right up against that wall so it doesn’t happen again. I will then put the second, third, forth, and so on, tight up against the frame in front, creating the correct sized bee space and avoiding the beautiful but frustratingly disorganized mess that is brace comb.
The next thing I noted was that most of the bees were clustered together in one place. This is what they do over winter to keep their queen warm, so they were behaving normally at the point they died. They also had access to food, and were in the warmest spot – right at the top of the frame, directly under the roofing insulation and next to the hole in the crown board where the fondant was place. So, they were doing ok in that sense, too. They didn’t starve and they didn’t freeze. So what happened? Well, in thinking back over my past experience, my best guess is that I poisoned them with fermented sugar solution that they all ate and fed to the queen.
But first, the other two colonies I lost in winter:
The first hive:
When I looked into that dead hive I saw two things: very few bees and everything – bee corpses and frames – was covered in mould. I believe they died because 1. there were not enough bees to keep the hive warm and dry, and 2. I messed with their ventilation.
The bees create heat by flapping their wings….if there weren’t many bees, they may not have been able to keep it warm enough to evaporate the moisture that was there naturally so it got damp and cold. Damp will kill bees before the cold does. And, I am afraid the damp was my fault.
Though the colony was doing well where it was sited that summer and autumn, when winter came I realised the entranced faced directly into the (cold winter) wind. Thinking they needed my help to survive this, Phil and I turned the hive 45 degrees to keep the wind from blowing straight in. Thinking back, I am sure I did them no favours at all. What I should’ve done was place a screen a few feet in front of the door to block the wind. I should not have turned the hive.
I realise now that the bees would’ve been aware of the prevailing winds, and they would’ve built their comb in such a way as to protect themselves from that wind when winter came. Not realising this, or not thinking it through properly, when I turned the hive I stopped the wind from coming straight into the hive, and I also probably messed up their ventilation system. Instead of their hive being just right with temperature and humidity, I turned it into a wet mess. If I had left them alone they might have survived just fine.
The bees know what they are doing. We don’t, and that causes problems, especially for newbies like me.
The second colony died from an infection – probably caused by a pathogen called Nosemia.
Nosemia causes diarrhea. I don’t think it’s treatable. A strong colony in mid summer might survive a Nosemia infection, but at the end of winter when bee numbers are low and the queen isn’t laying any eggs (to replace the dying bees) it’s not good.
The first hint of a problem was seeing little brown streaks on the outside of the hive and landing board. This was during the winter, when the bees were taking ‘cleansing flights.’
Bees will not poo inside the hive, only outside. They store up their poo overwinter and when a warm day comes they go on a ‘cleansing flight’ – they flight out, poo, and go right back in. As there was diarrhea on the outside of the hive I knew some of them were at least trying to cope with the infection when they first got sick. But as it was January or February when the diarrhea arrived I couldn’t open the hive and look inside to see what was going on. By the time I could open the hive they were all dead.
I didn’t do anything wrong with these bees. Infection just happen. What I did next, however, was the right thing.
Nosemia is very infectious. I destroyed all of the bees, the frames, and the wax from that hive by burning everything I could remove from the hive. Then I thoroughly scorched the walls, floor, landing boards, and outside edges of the hive with a blowtorch to kill any diarrhea bugs that were still in the hive. It seemed to have worked – the colony I’ve got now is living in that hive.
So what happened to the colony in the video? I think I poisoned them.
In the autumn I did what we all do: I gave them a homemade solution of sugar and water. The bees use this to replace the honey we naughty humans take from their hives. Honey is winter food for bees. If you remove it you have to replace it with something or else the bees will starve.
I made my standard solution using good hygiene practices and fed it both colonies. As the colony that is now dead was a larger colony than the other I gave them a larger amount of solution and I fed it to them from a larger feeder. They emptied the first full feeder very quickly so I refilled it and left them to it. They were much slower taking in this batch so I just left it for them. I should not have done that. By leaving it there, in a relatively warm environment the solution would’ve begun to ferment. Alcohol, which is a by produce of fermentation, is poisonous to bees.
I think the first batch they took in was fine and they went through their honey stores first, then moved on to the sugar solution, then finally to fondant. Somewhere along the line they must have started feeding fermented stuff to themselves and the queen. They died. That is why they never got round to eating any fondant.
This autumn I will watch more closely and remove the feeders when the bees seem less interested. Sigh.
So, the colony probably died from alcohol poisoning, and they left me a mess of brace comb.
I removed all of the frames that had bees and honey/sugar solution stored in them. I will need to sort through those quite carefully and then put any I decide I can keep into safe storage. The rest I will decide if the wax is worth melting down and processing into clean, usable wax.
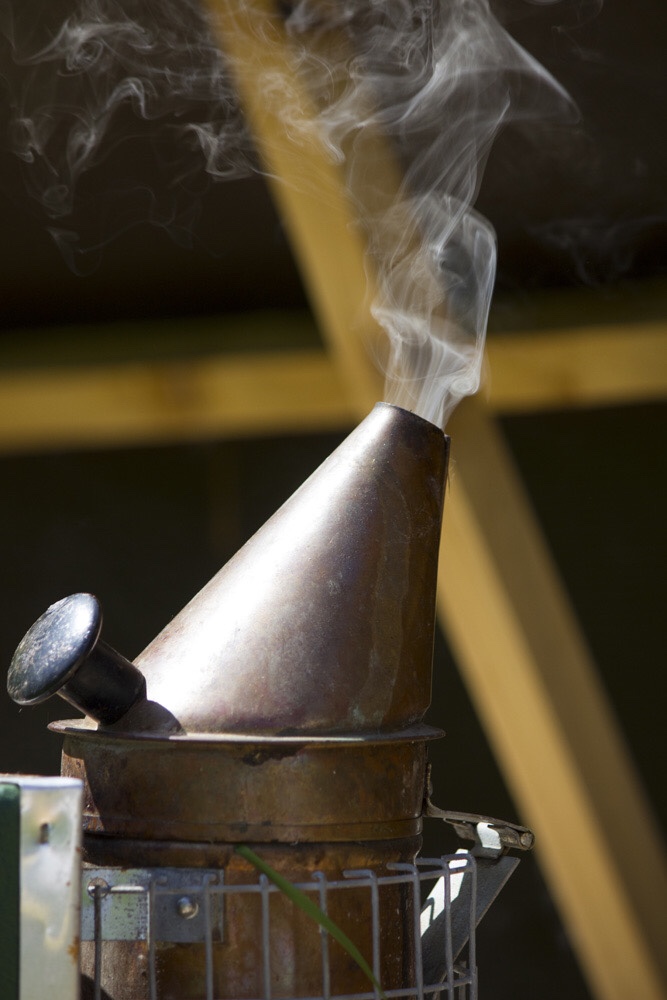
So, cleaning the inside of the hive means scraping out all the comb and propolis that I can, then sanitising it all by scorching the wood with a blowtorch. A small reliable blowtorch is one of the best investments a beekeeper will make. Not only can It can be used for scorching the inside of the hive like I’ve done here, and sorching old frames to get them perfectly clean, a blowtorch is much better for lighting the smoker than a match in the wind! Get a blowtorch!
Scorching the inside of the hive is the final step in cleaning a hive. Fun with fire!
Once the inside of the hive is clean, I can focus on cleaning the stuff I’ve pulled out. This includes the crown board and the varroa board. Both can be scraped clean and then need washing.
This crown board has about 2 years worth of brace comb on it. I have scraped it off from time to time, but what I haven’t cleaned is the top bar of all of the frames. Just like building brace comb on the inside wall to fill in gaps, the bees want to fill in the gap between the top bar of the frame and the crown board. This gap is only one beespace, so it doesn’t take them long to bridge the space. The best way to manage it is to scrape off any wax at the first sign of it, and keep doing that with each inspection. If there is brace comb on the crown board, scrape it off; if there is brace comb along the top bar of the frames: clean it off, too.
If it’s not cleaned off (I speak from experience) it means alot of prying loose frames from the crown board. When you are able to separate the two things, you will find you have destroyed cells that are either full of stored honey of bee larvae. The first kind of cells are sticky and messy; the second kind are heartbreaking – it is a waste of life. So, keep that space clear (she says to herself)!
As I reflect on what I’ve written, I realise I have been too quick and lazy with my inspections. I guess I don’t like disturbing the bees and don’t want to get stung, so I do the bare minimum of looking at frames. It shows. (There is almost as much brace comb in the other hive.)
This year I will try to slow down a bit, take the time to scrape off brace comb as I find it and try very hard to line up my frames properly. Doing that will make inspections easier…I won’t be trying to fit things in this way and that way, squishing bees as I try to get the frames closer together. I do like the bees to make their own comb, I just need to help them make it in an orderly fashion so when harvest time comes it is straightforward for me and less disruptive for the bees.
Once the crown board and varroa board are scraped clean I wash them with a solution of soda crystals and water. I wear gloves to do this as soda crystals – lye – are very irritating to the skin. I have tried to keep a lidded tub with this washing solution stored in it – that’s what I was taught to do. After an inspection I put all my washable bits in there and leave them for a bit. Leaving them for a bit is helpful if your tools/gloves have gotten really sticky – by soaking in the solution, the propolis, wax, and honey dissolves, making cleaning very, very. Then a quick scrub with a brush or sponge is all that is needed before they are left to dry.
The last thing to do is to reset the empty hive, ready for new bees. I’ve put the three clean, drawn frames back in the hive and put a dummy board – a false back wall – behind them to create a tiny little space. In order to make it attractive for more bees, I need to add a few more frames – no self-respecting honeybee colony would want to move into such as small space. So, I will set three more frames in there for a total of 6. That is a good starting size.
I will be keeping an eye on my other colony, too, for signs of swarm behaviour – drawing out ‘queen cups’ and filling and drone cells with eggs. Queen cups are the special cells that hold not only a bee egg and then the hatched larvae, but also ‘royal jelly.’ Royal jelly is the food worker bees make and feed to a regular worker larvae to turn it into a queen bee. If I find the queen cups have turned into queen cells – peanut shaped protuberances that will hold the larger young queen as she develops – and these queen cells are capped I know they are preparing to swarm. If there are also lots of capped drone cells then I know for certain they will attempt to swarm, as a drone’s only purpose is to mate with a virgin queen.
Last year I created an artificial swarm by ‘splitting’ the one existing colony in two. I chose several frames of food (stored honey and pollen) and brood (eggs, larvae and capped larvae ready to hatch as worker bees, and capped queen cells soon to hatch), and all the worker bees on those frames, into the empty hive. Then I left them alone for a week and checked to see if my queen cells had hatched. There is a natural process of selection amongst the new queens – they fight to the death of all but one – and once one new queen is present the workers prepare her for a mating flight. She leaves the hive to meet up with the drones and once she has mated with several, she returns to the hive and a new colony begins.
That split colony is the one colony I currently have. Hopefully it will grow well this year and I can do another split. Then, if all survive the winter I will have two good colonies and can begin to harvest a bit of honey. If one or both die over winter I will start again at the beginning.
The real beginning – when you haven’t got any bees – means buying in bees. There are lots of people selling the equivalent of a split swarm online, and there will also be local beekeepers who want to sell on their bees. Hopefully I won’t be at this point anytime soon.

So interesting about the bees and the videos ran perfectly!
LikeLike